
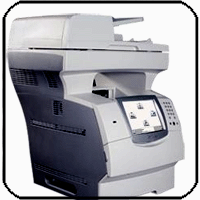
- In the past a printer would be added to the school server but new printers will be added to each computer as needed.
-This tutorial will walk you through adding the Lexmark x646e to your computer so that the Cascade answer sheets can be printed there.
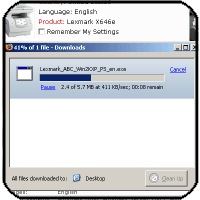
- First you should obtain the driver for the printer. A driver is a piece of software that allows your computer to 'speak' to the printer.
- The Lexmark website has the driver for all operating systems here and the driver for Windows XP can be downloaded from inside JCPS here.
- The driver is a 5.7 mb EXE file and may take a few minutes to download to your desktop.
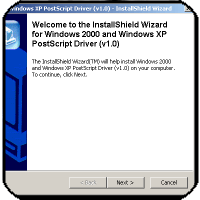
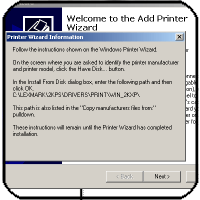
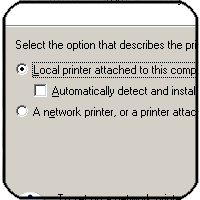
- Choose to add a 'Local Printer' and un-check 'Automatically Detect...'
- Click 'Next'.
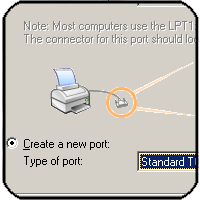
- Choose 'Create a New Port' and select from the drop down menu the option for a 'Standard TCP/IP Port'.
- Click 'Next'
-A new Wizard window will open for adding a TCP/IP Printer
- Click 'Next'
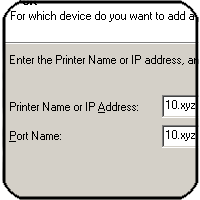
- When asked for the Printer Name or IP Address go to the Lexmark machine and look at the touchscreen. In the top left hand corner, in very light text is the IP address of the printer - in the format of 10.xyz.xyz.xyz.
- Type this number in the wizard for the IP address.
- You will now be able to use the Lexmark multi-function machine and Cascade for the complete assessment cycle.