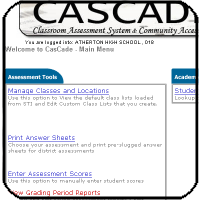
How To Scan Answer Sheets into Cascade

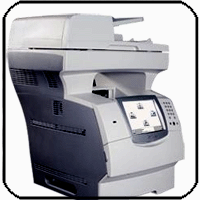
- Take your completed answer sheets to the Lexmark x646e in your building
COMMON ISSUE PREVENTING SCANNING
- After scanning several classes, eraser debris and pencil shavings will begin to build up on the scanner's glass. It is best to be sure the glass is clean before scanning.
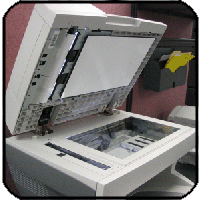
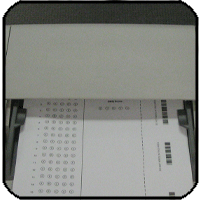
- Open the top scanner tray to view the glass.
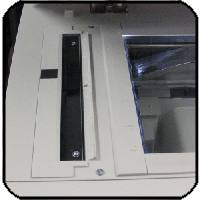
- The small piece of glass on the left side scans everything loaded from the automatic feeder tray - a small lip sticks up slightly to the right of the glass and does a good job scrapping pencil shavings from the paper back onto the scanning glass.
- Debris and pencil shavings should be dusted off with a soft, dry tissue. Since the area of the glass is so small, using liquid glass cleaner usually leaves streaks in the corners and should be used carefully. Close the top tray when you are done.
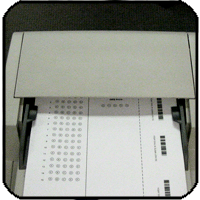
- Load up to 50 sheets into the feeder tray on the top of the machine. The sheets should be face up and head first in the tray.
- Answer sheets from two seperate tests can be loaded at the same time.
- Be careful NOT to rescan a sheet that has already been scanned, this will create an error.
COMMON ISSUE PREVENTING SCANNING
- Be sure to push the side rails tightly against the stack of paper by
firmly tapping on both rails at the same time. Eliminate
any space that would allow the paper to turn a few degrees as it is pulled
into the scanner.
- Even a slight tilt in the paper will prevent proper scanning.

- Wait for the confirmation page to print. If an error is returned indicating a barcode misread or mismatch, check the pages in the stack to be sure all tests were turned the same way and were face up in the scanner. If a sheet is found to be turned around or face down, rescan just that sheet with another stack or by itself.
- Never rescan sheets that scanned properly the first time.
- Repeat the process for the next batch of answer sheets after the confirmation page prints. Wait for a confirmation page each time.